Guide to Expanding Partition Space on a Cloud Server
Before adding a disk to the operating system, you must create it in your server management panel.
Steps to Expand a Disk in the Management Panel
- Operating System Disk
- Non-Operating System Disk
Expanding the Operating System Disk
- Log in to the Control Panel:
- Sign in to your account and go to the Cloud Server section.
- In the Server tab, access your server management panel.
- In your server management page, click on Resource Plan.
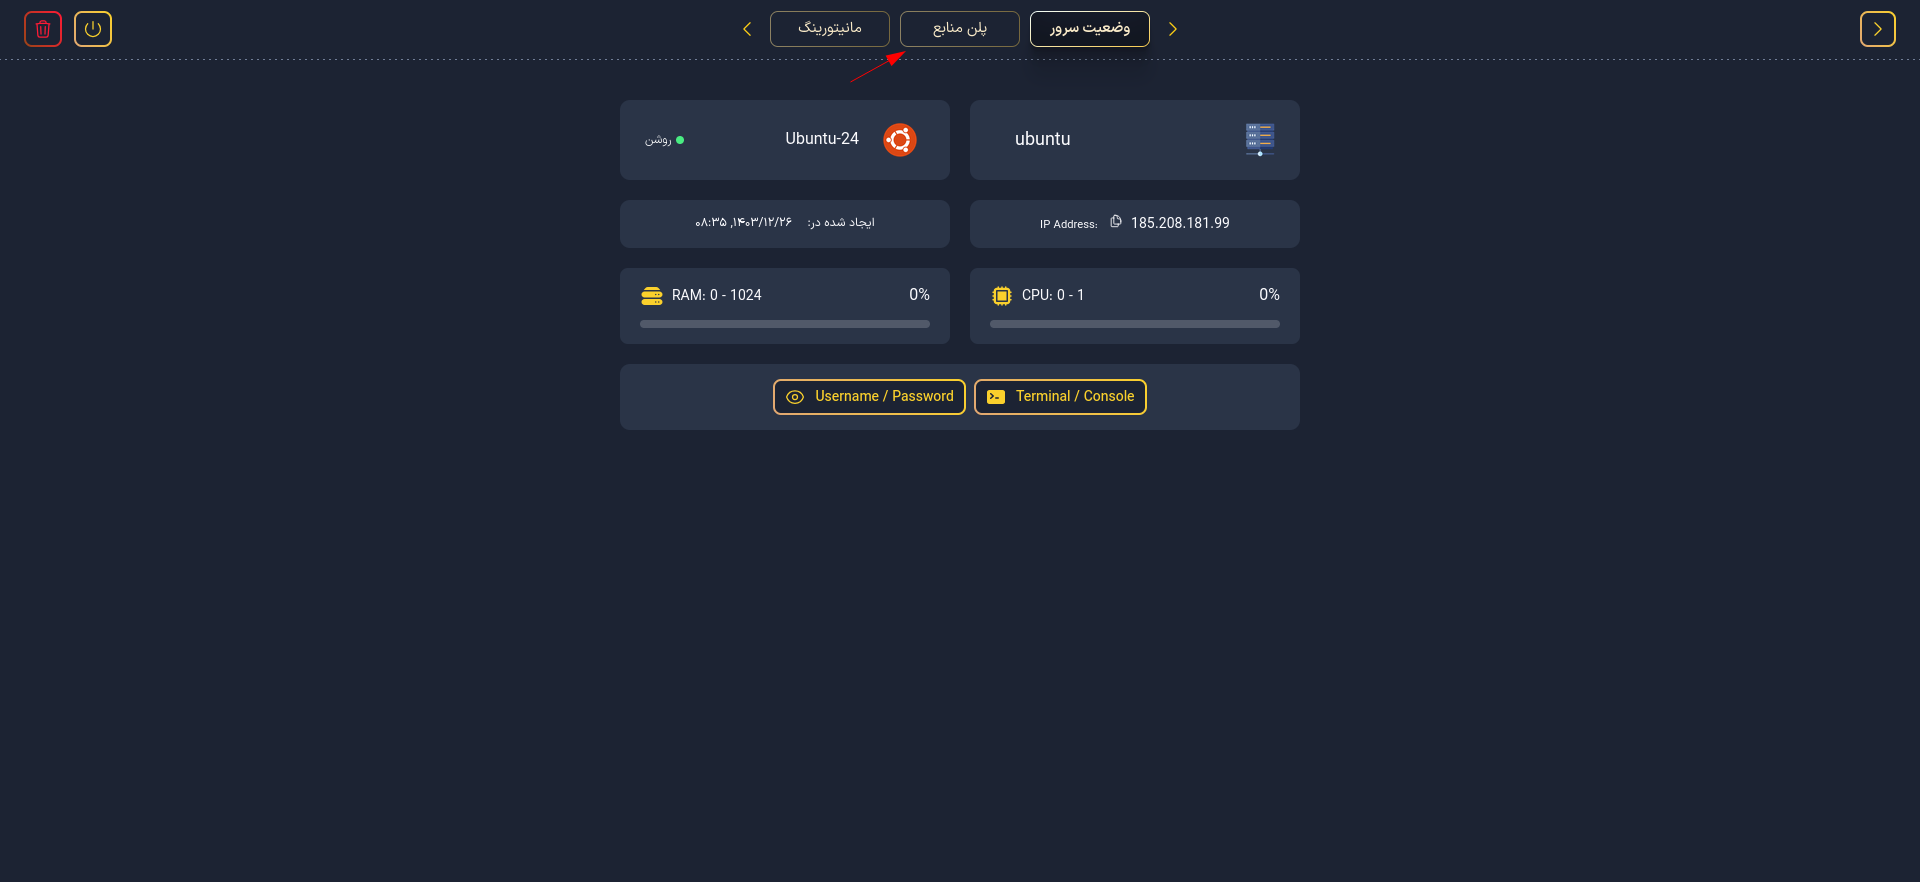
- Then, increase the size of your operating system disk.
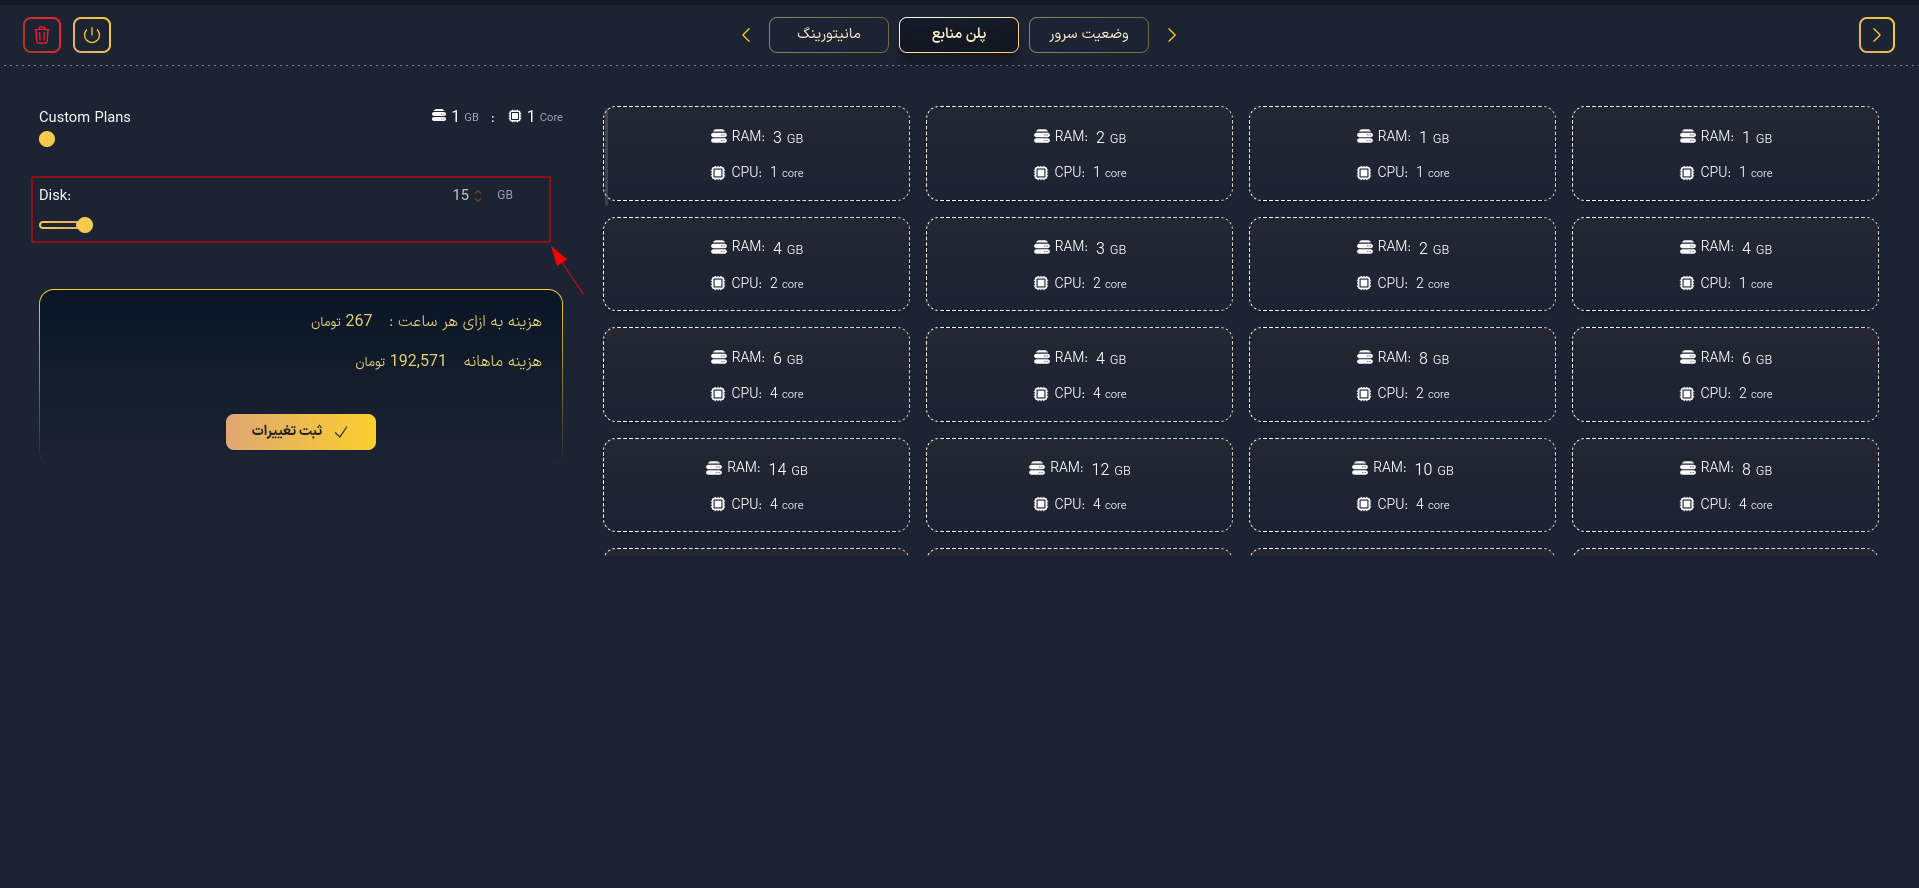
Please note that you cannot reduce the allocated disk size.
Expanding a Non-Operating System Disk
- Log in to the Control Panel:
- Sign in to your account and go to the Cloud Server section in the control panel.
- Go to the Disk section.
- Click on the desired disk and then select Edit.

- Enter the following details:
- Disk Size: Use the slider to set the disk size (in this example, 1 GB is selected).

- Disk Size: Use the slider to set the disk size (in this example, 1 GB is selected).
- Click the Edit button.
- Your disk has now been expanded.
Please note that you cannot reduce the allocated disk size.
Steps to Expand Partition Space
1. Identifying New Space in the Operating System
After increasing the disk size, the operating system must recognize the new space:
- Ubuntu/Debian
- RockyLinux/AlmaLinux
- FreeBSD
sudo fdisk -l
sudo fdisk -l
sudo gpart show
This command lists the existing disks and partitions. The new space should appear as unallocated.
2. Extending the Existing Partition
To expand the existing partition, execute the following commands:
- Ubuntu/Debian
- RockyLinux/AlmaLinux
- FreeBSD
sudo fdisk /dev/vdX
Follow these steps after executing fdisk:
- Enter
pto list the current partitions. - Note the partition number you want to extend.
- Enter
dand select the partition number to delete it. - Enter
nto create a new partition. - Specify the partition type (usually primary) and select the same partition number as before.
- Enter the Start sector exactly as the previous value.
- For the End sector, select the suggested value (maximum size) to utilize all the new space.
- Save changes and exit with
w.
sudo fdisk /dev/vdX
Follow the same steps as in Ubuntu/Debian:
- Enter
pto list current partitions. - Note the partition number to extend.
- Enter
dand select the partition to delete it. - Enter
nto create a new partition. - Choose the partition type (primary) and select the same partition number as before.
- Enter the Start sector exactly as before.
- For the End sector, select the suggested maximum value.
- Save and exit with
w.
sudo gpart resize -i 1 vtbdX
In this example, /dev/vdX or vtbdX is the disk, and 1 is the partition number.
3. Expanding the Filesystem
After expanding the partition, extend the filesystem:
- ext4 Filesystem
- XFS Filesystem
- UFS Filesystem (FreeBSD)
sudo resize2fs /dev/vdX1
sudo xfs_growfs /
sudo growfs /dev/vtbdXp1
Note: For the XFS filesystem, xfs_growfs must be executed on the mount point.
4. Verifying Configuration
To ensure proper configuration, check the settings:
- Linux (Ubuntu/Debian/RockyLinux/AlmaLinux)
- FreeBSD
df -h
df -h
Important Notes:
- Always back up your data before making any partition changes.
- Carefully execute commands according to your disk and partition structure.
- For more details, refer to your Linux distribution's official documentation.